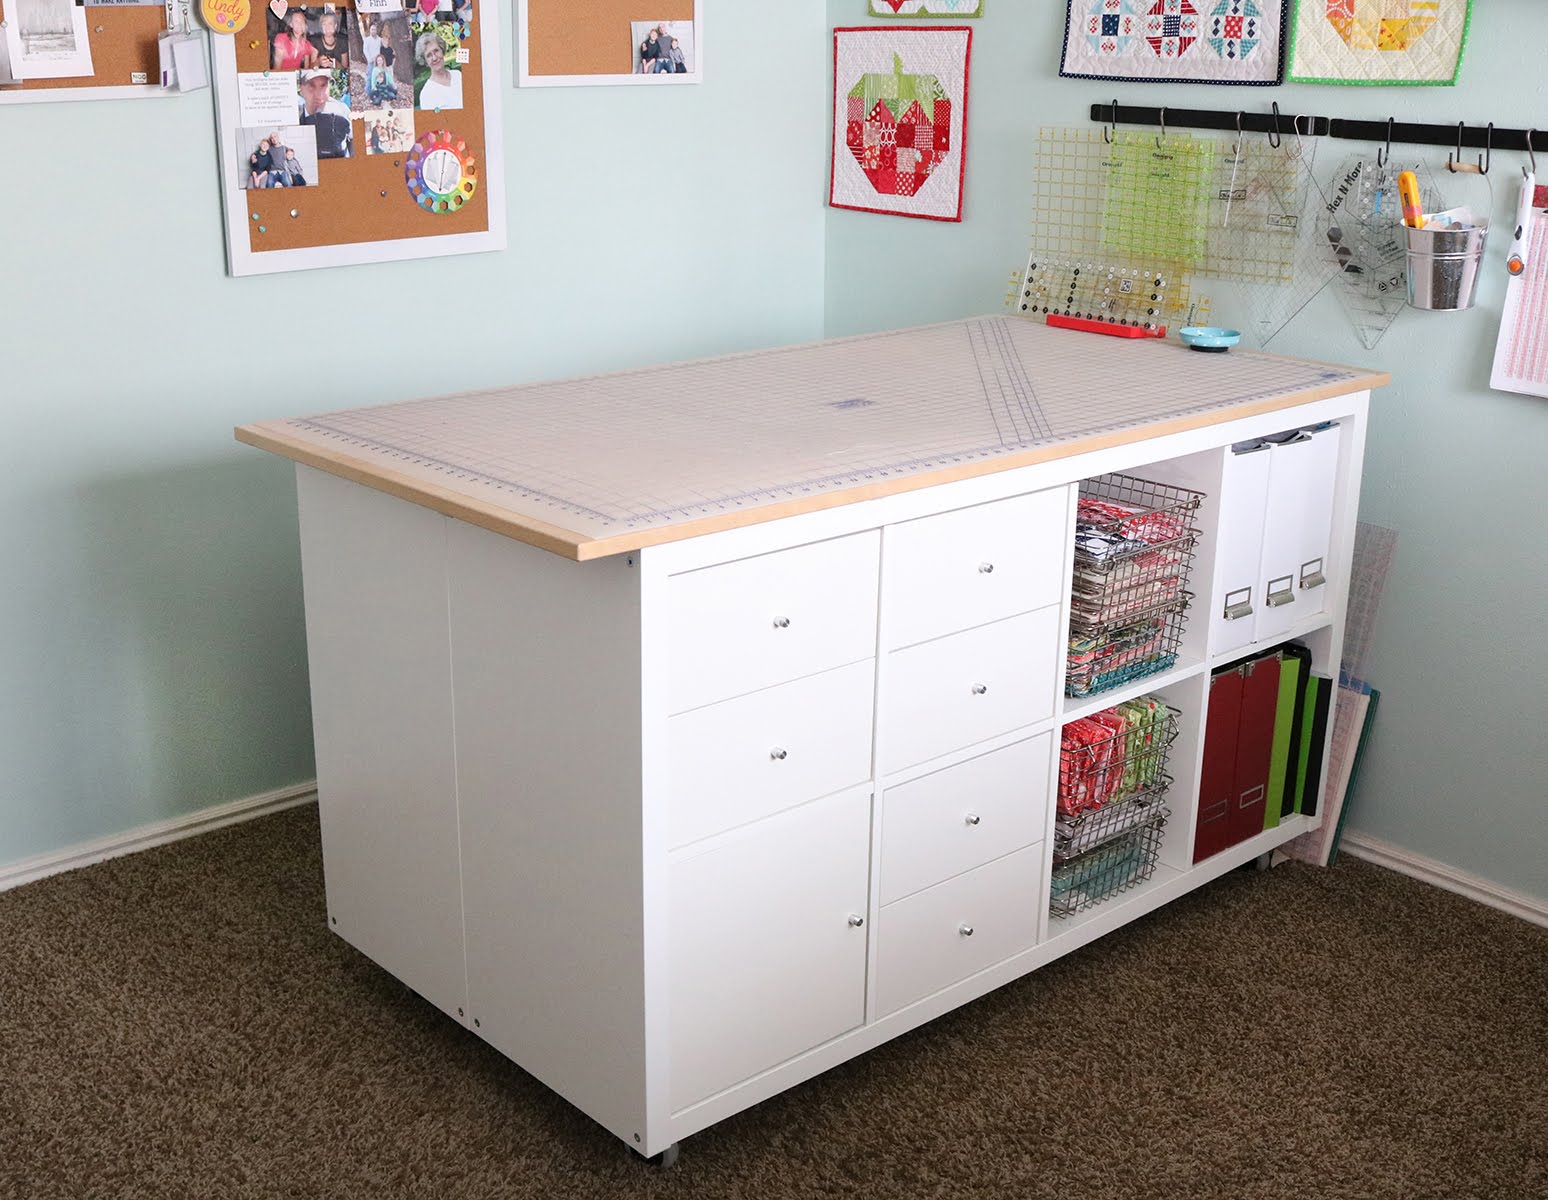
Are you a passionate sewist looking to enhance your sewing experience? A DIY sewing cutting table can transform your workspace, making it more efficient and enjoyable. In this comprehensive guide, we will delve into everything you need to know about creating your own sewing cutting table, from planning and materials to tips for maximizing your space.
Having a dedicated cutting table is essential for any sewing enthusiast. It not only provides a designated area for cutting fabric but also helps keep your sewing supplies organized. With the right setup, you can work more efficiently and enjoyably. This article will guide you through the process of making a cutting table tailored to your needs.
In this article, we will cover the benefits of a DIY sewing cutting table, essential materials, step-by-step instructions for building your table, and tips for optimizing your cutting space. Whether you're a beginner or an experienced sewist, this guide will provide valuable insights to help you create a functional and stylish workspace.
Table of Contents
- 1. Benefits of a DIY Sewing Cutting Table
- 2. Essential Materials for Your Cutting Table
- 3. Designing Your Cutting Table
- 4. Step-by-Step Instructions to Build Your Table
- 5. Accessories to Enhance Your Cutting Table
- 6. Tips for Organizing Your Cutting Area
- 7. Maintenance Tips for Longevity
- 8. Conclusion
1. Benefits of a DIY Sewing Cutting Table
Creating your own sewing cutting table offers several advantages:
- Customization: You can design your table according to your specific needs, including height, size, and storage options.
- Cost-Effective: Building your own table can save you money compared to purchasing pre-made options.
- Quality Control: You can choose high-quality materials that will last longer and withstand heavy use.
- Personal Satisfaction: There’s a sense of accomplishment in creating something yourself that enhances your sewing practice.
2. Essential Materials for Your Cutting Table
Before you start building your DIY sewing cutting table, gather the following materials:
- Tabletop: Plywood or MDF board (3/4 inch thick is ideal)
- Legs: Pre-made table legs or wooden 2x4s
- Support Braces: Additional wood for stability
- Finishing: Paint, stain, or sealant to protect the surface
- Tools: Drill, saw, sandpaper, screws, and a level
3. Designing Your Cutting Table
When designing your cutting table, consider the following:
- Size: The table should be large enough to accommodate your fabric and projects.
- Height: Ensure the height is comfortable for you to work at without straining your back.
- Storage: Incorporate shelves or drawers for storing tools and materials.
- Mobility: If you need to move your table, consider adding wheels.
4. Step-by-Step Instructions to Build Your Table
Follow these steps to build your DIY sewing cutting table:
Step 1: Cut the Tabletop
Measure and cut your plywood or MDF board to the desired dimensions using a saw.
Step 2: Prepare the Legs
If using wooden 2x4s, cut them to the desired height for the table legs. Alternatively, attach pre-made legs to the underside of the tabletop.
Step 3: Assemble the Table
Attach the legs to the tabletop using screws or brackets for added stability. Ensure the table is level.
Step 4: Finish the Surface
Sand the surface to smooth any rough edges, then apply your chosen finish for protection.
5. Accessories to Enhance Your Cutting Table
Consider adding these accessories to improve functionality:
- Cutting Mat: Protects your tabletop and provides a grid for cutting.
- Rotary Cutter and Ruler: Essential tools for precise cutting.
- Storage Solutions: Baskets or organizers for easy access to tools.
6. Tips for Organizing Your Cutting Area
Keep your cutting space neat and efficient with these tips:
- Designate specific areas for fabric, tools, and finished projects.
- Utilize vertical space by hanging tools on the wall.
- Regularly declutter to maintain a clean workspace.
7. Maintenance Tips for Longevity
To ensure your DIY sewing cutting table lasts, follow these maintenance tips:
- Clean the surface regularly to remove dust and debris.
- Reapply finish as needed to protect the wood.
- Check for stability and tighten screws periodically.
8. Conclusion
Building your own DIY sewing cutting table can greatly enhance your sewing experience. With the right design and materials, you can create a functional and personalized workspace. Remember to keep your space organized and well-maintained for the best results. We hope this guide has inspired you to take on this project!
Feel free to leave a comment below with your thoughts or questions, and don't forget to share this article with fellow sewing enthusiasts. Check out our other articles for more sewing tips and tricks!
Thank you for reading, and we look forward to seeing you back here for more creative ideas!
You Might Also Like
Understanding DIF Files: Everything You Need To KnowIdentifying The Number Of Stereoisomers Expected For Chemical Compounds
Extrude Circle Into Cone In Onshape: A Comprehensive Guide
Life At Full Sail University: A Comprehensive Guide To Student Life And Opportunities
Exploring The Temescal Farmers Market In Oakland: A Local Treasure
Article Recommendations
- Tattoo Designs Wife Name
- Best Forearm Workout Weight
- Is China Still A Communist
- Simon Cowell 2024
- 2009 Nissan Maxima
- 8 Inch Stacks For 379 Peterbilt
- Best Exercise Classes
- Koozie Drink
- Double Semi Trailer
- Toy Robot Dogs


