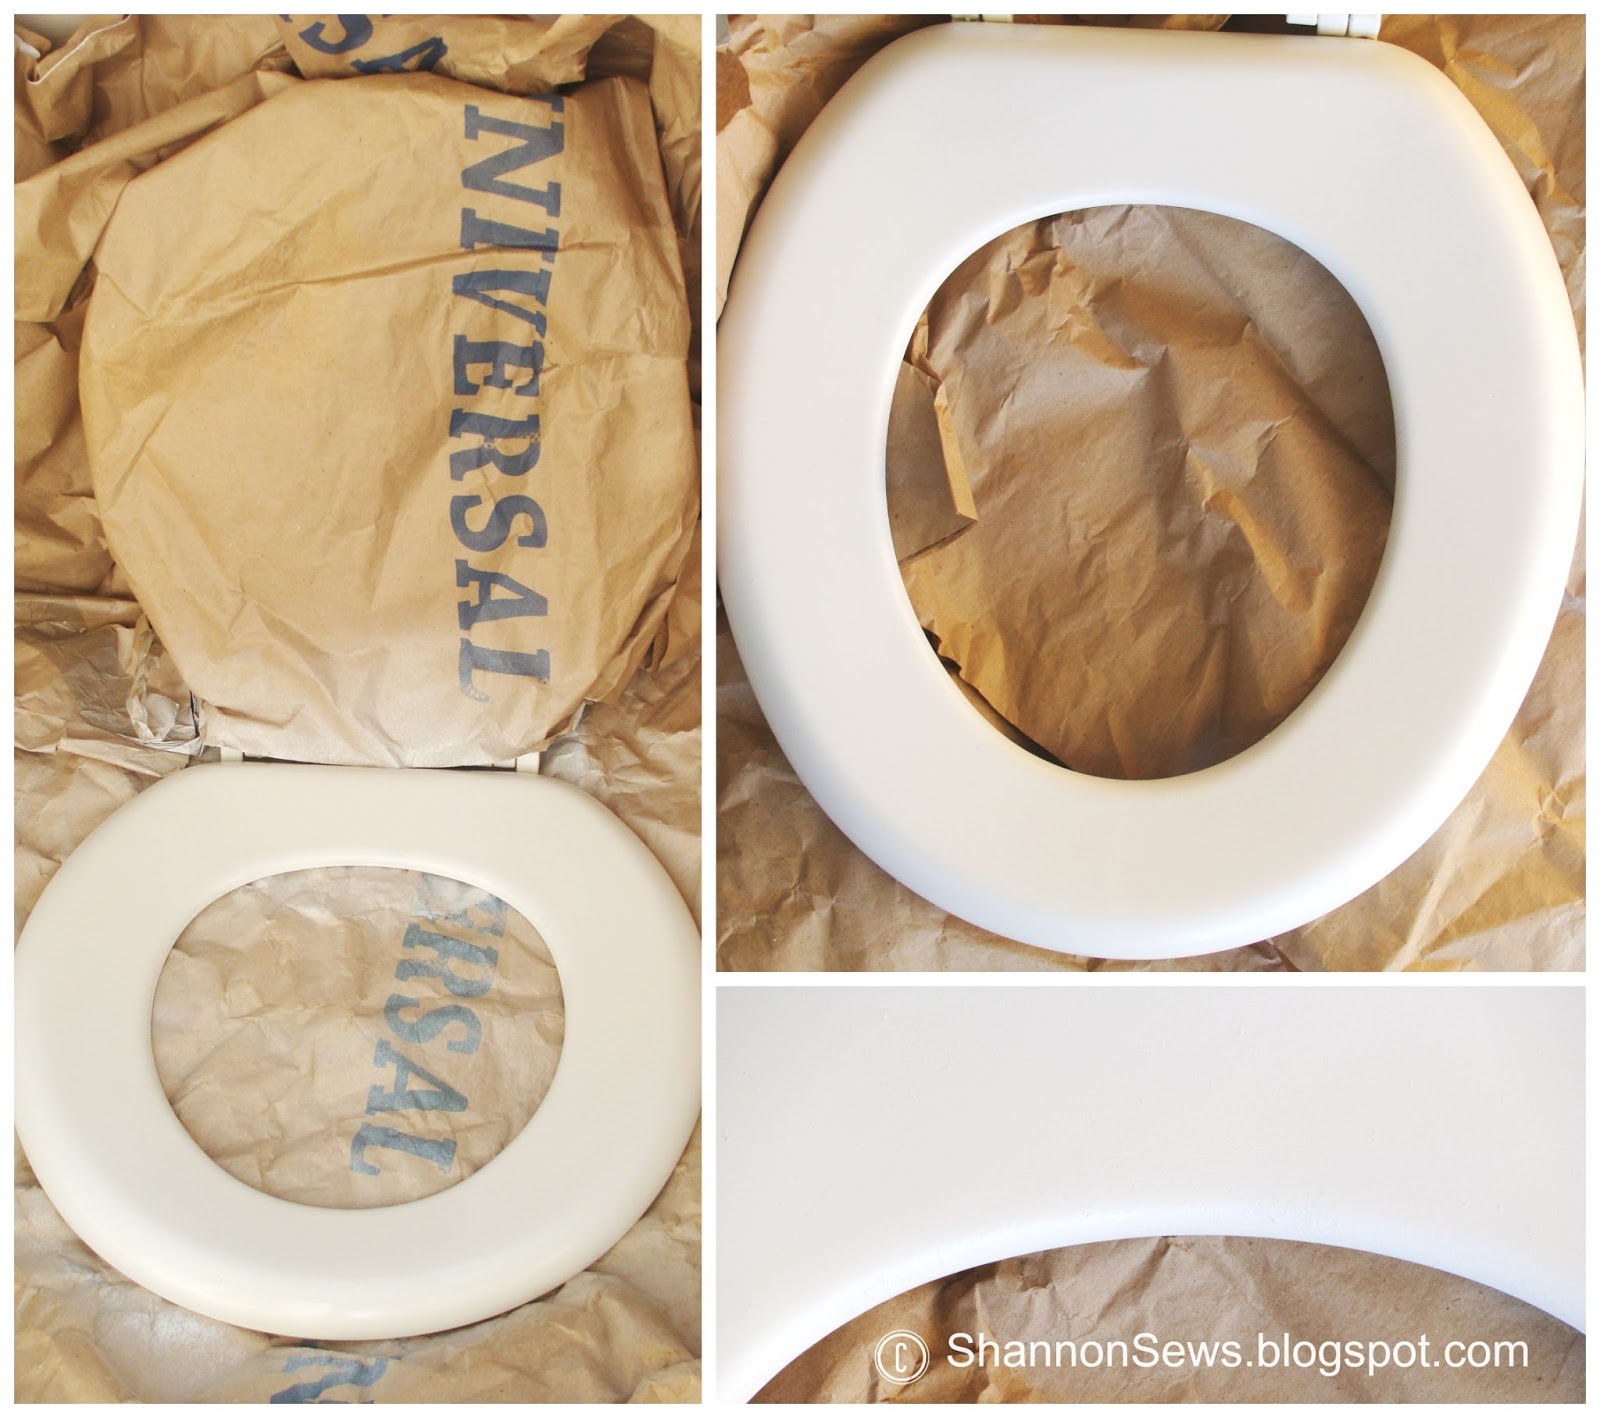
Are you tired of the same old look of your bathroom? Painting a toilet seat might be the easiest and most cost-effective way to breathe new life into your space. In this comprehensive guide, we will walk you through the entire process of how to paint a toilet seat, ensuring that you have all the tools and knowledge you need to complete this DIY project successfully.
Not only does a freshly painted toilet seat enhance the aesthetic appeal of your bathroom, but it also allows you to express your personal style. Whether you prefer bold colors or soft pastels, customizing your toilet seat can make your bathroom feel more inviting. In this article, we will cover everything from selecting the right materials to tips for maintaining your painted toilet seat.
So, grab your painting supplies and let’s dive into the details of how to paint a toilet seat effectively!
Table of Contents
- Materials Needed
- Preparing the Toilet Seat
- Painting the Toilet Seat
- Drying and Curing
- Finishing Touches
- Maintenance Tips
- Frequently Asked Questions
- Conclusion
Materials Needed
Before starting your project, gather all the necessary materials. Here’s a list of items you will need:
- Toilet seat (wood or plastic)
- Sandpaper (medium and fine grit)
- Primer (for plastic or wood)
- Paint (acrylic or spray paint)
- Clear sealant (optional for added protection)
- Paintbrush or spray can
- Drop cloth or old newspaper
- Masking tape
- Gloves and mask (for safety)
Preparing the Toilet Seat
Proper preparation is crucial to ensure that the paint adheres well and the finish looks professional. Follow these steps:
1. Remove the Toilet Seat
Start by unscrewing the toilet seat from the toilet bowl. Most toilet seats can be easily removed by loosening the screws located at the back. Keep the screws safe for reattachment later.
2. Clean the Surface
Thoroughly clean the toilet seat with soap and water to remove any dirt or oils. Rinse it well and let it dry completely.
3. Sand the Surface
Using medium-grit sandpaper, gently sand the surface of the toilet seat to create a rough texture for better paint adhesion. After sanding, wipe it down with a damp cloth to remove dust.
Painting the Toilet Seat
Now that your toilet seat is prepared, it's time to paint!
1. Apply Primer
If you’re using plastic paint, apply a suitable primer first. This step is essential, especially for plastic toilet seats, as it helps the paint stick better. Allow the primer to dry according to the manufacturer's instructions.
2. Choose Your Paint
Select a high-quality acrylic paint or spray paint designed for plastic or wood. Consider choosing a color that contrasts or complements your bathroom décor.
3. Start Painting
Using a paintbrush or spray can, apply the first coat of paint evenly across the seat. Be sure to cover all surfaces, including the edges. Allow the first coat to dry completely before applying a second coat.
Drying and Curing
After painting, it’s important to allow the paint to cure properly to ensure durability.
1. Drying Time
Follow the drying time specified by the paint manufacturer. Generally, acrylic paint dries quickly, but it’s best to wait at least 24 hours before touching the painted surface.
2. Curing Time
For the best results, allow the painted toilet seat to cure for a few days before reattaching it to the toilet. This allows the paint to harden and reduces the risk of scratches or damage.
Finishing Touches
Once the paint has cured, you can add some final touches to enhance the look and durability of your painted toilet seat.
1. Apply a Clear Sealant
For extra protection, consider applying a clear sealant over the paint. This will help prevent scratches and make cleaning easier.
2. Reattach the Toilet Seat
Once everything is dry, carefully reattach the toilet seat using the screws you saved earlier. Make sure it’s tightened securely but not overly tight to avoid cracking the seat.
Maintenance Tips
To keep your painted toilet seat looking fresh and vibrant, follow these maintenance tips:
- Clean regularly with a mild soap and water solution.
- Avoid abrasive cleaners that can scratch the surface.
- Check for any signs of chipping or wear and touch up as needed.
Frequently Asked Questions
Here are some common questions regarding painting toilet seats:
1. Can I paint a toilet seat without removing it?
While it is possible to paint a toilet seat without removing it, it is highly recommended to take it off for a cleaner finish.
2. Will the paint hold up against water and cleaning products?
Yes, if you use the right paint and apply a sealant, it should withstand normal bathroom conditions.
Conclusion
Painting a toilet seat is a simple, cost-effective way to update your bathroom décor. By following the steps outlined in this guide, you can achieve a professional-looking finish that reflects your personal style. Don’t hesitate to experiment with colors and patterns to create a unique focal point in your bathroom.
If you found this guide helpful, please leave a comment below or share it with friends who might be interested in a DIY bathroom update! We also invite you to explore other articles on our site for more home improvement tips.
Thank you for reading, and happy painting!
You Might Also Like
Discover The Deliciousness Of El Pollo Loco Pollo Bowl: Your Ultimate GuideUnraveling The Mystery: The Jesuit Conspiracy Book
Understanding ATM Male: A Comprehensive Guide
Sheath White Dress: The Timeless Elegance For Every Occasion
Essential Guide To Dog Coat Sewing Patterns: Crafting The Perfect Outfit For Your Furry Friend
Article Recommendations
- Saturnalia And Christmas
- 8 Inch Stacks For 379 Peterbilt
- Opal Engagement Ring
- Harvard Rejection
- Hasselblad 553 Elx
- Terminator Genisys Cast
- Fan Sound
- Toy Robot Dogs
- Pigs Ears Mushroom
- Additional Shelf For Cabinets


